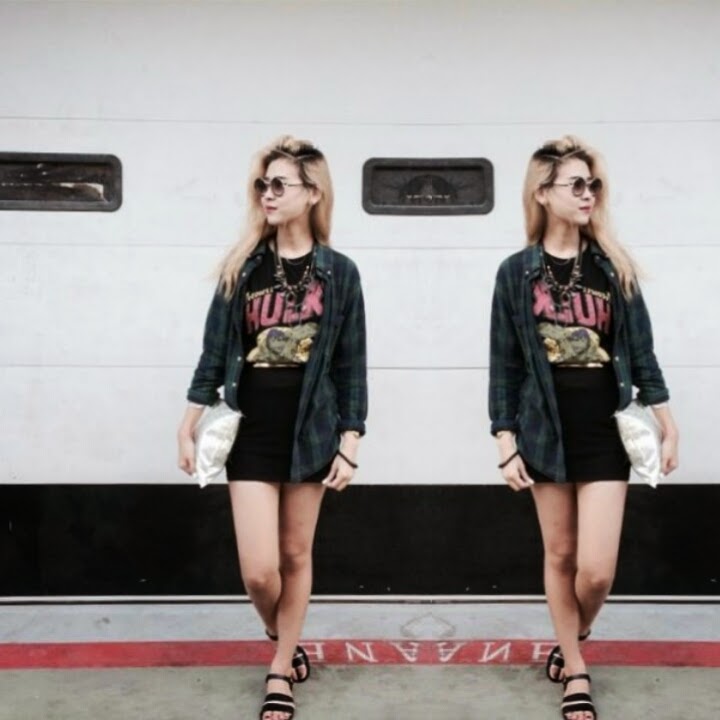
Wheeeeee! finally posting up a post that have been HIGHLY REQUESTED in ask.fm/cheriezeng
& finally its up!
From this picture:
To this:
& This:
NOTE:
I'm using Samsung (Android phone) so it might be different if you're using iPhone!
------------------------------------------------------
So i'm going to start with the "Barely There" picture:
Firstly, I'm using this Application called "PicsArt"
click onto "Photo" to select the picture you want to edit.
Next, click onto "Add Photo"
you can choose either the same picture or different picture,
here i'm choosing the same picture.
resize the picture in a way you want it to be..
& adjust the "Opacity",
so this is like one of the "barely there" photo seen around!
but if you only want a "barely there" figure, & not the background as well,
click onto the scissors above!
click onto the Paintbrush below,
& start "highlighting/painting" the figure you want to be on the main picture itself,
you can simply zoom in/out by the usual zooming method!
After finish highlighting/painting the figure,
you realise that you went a bit too much over the sides,
so its time to clean up a little..
Click onto the Eraser & start cleaning the excess!
ohya! you can actually choose the size of you brush for the paintbrush & eraser!
After its all cleaned up & you're pretty much happy with it,
just click the Tick at the bottom!
you can move your figure around again & adjust the opacity as well.
you want a opaque figure the maximise the opacity!
i've decided on the opacity & placement of the figure,
so i just click onto the tick at the bottom!
& then i will go to "Tool" & "Crop"
*you can totally skip this step*
crop the size & placement i want.
& click the tick below when you're done!!
so this is how it looks like...
but let's say if i'm not happy with the colours,
i will go to "Tool" & "Curves"
& adjust the colour!
&.... SAVE IT!
---------------------------------------------------------------
Now will be the "Mirror Image".
i'm using this Application called "PhotoGrid"
firstly, click on to "Grid"
then choose 2 of the same photos,
it'll show up like this,
so click onto "Layout"
choose the grid you want,
(on a side note, if yours show up with the grid line, just go to "Border" & adjust it!)
click onto the picture u want to flip,
& click on "Horizontal"
So it'll be like that,
just simply click & drag the picture until it's a pro mirror image!
Click the top right hand corner to save it,
Click save again, & done!
i hope this post have helped all of you & especially those who have spammed my askfm about how i edit my pics etc.
hahah!!
x.


No comments:
Post a Comment